
Tuesday, 23 April 2013

Final Animation
Follow this link to my final animation. I chose Catwoman as my superhero and a quote from 'Howl's Moving Castle'. The reason for Catwoman was because I felt she would be the least hard to model of the given superheroes and I could model her moderately well. As for the quote, I have always loved the quote I chose as Billy Crystal (in the English dubbed version of the film) has certain way of saying it that always makes me laugh. This was part of the reason why I kept it as his voice and not using my own. I know it now gives Catwoman a slightly manly voice but I didn't feel as though I could do Billy Crystal justice by recreating it.
This animation project has been a challenge for me, mostly because I spent most of my time getting reacquainted with Maya after having not used it for nearly a year. Once that obstacle was overcome however, I was able to produce something that I am slightly proud of in that I have created something that I didn't think I had the ability to create.
Thursday, 18 April 2013
Thursday 18th April 2013

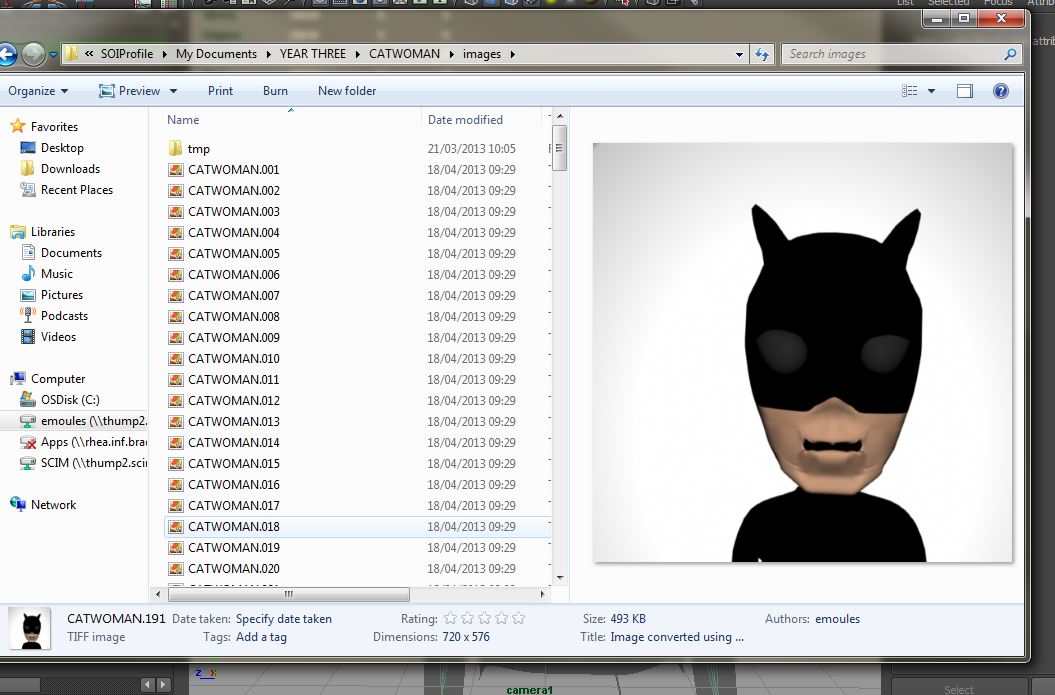
This session was focussed on rendering and editing. Before I rendered I needed to change some of the settings such as the end frame and what type of file it should render out as. I went for TIFF as it keeps the quality yet is a small file size.
I took out the second camera that I had put in there last session as I feared it would interfere with the view in the first camera.
Finished batch render saved to the correct folder.


Sound file added. I didn't realise that you needed to individually add in the sound file as I thought it was included in the render.
Completed editing in AfterEffects. To achieve the but between different cameras, I had to mark the point where I wanted the cut to happen and then go to Edit > Split layers. Only doing it this way was I able to create my cuts.
In the final run though I realised that my mouth movement was very flappy - for want of a better word - and this is due to me returning the mouth shapes to the original shape after every blendshape had been animated. Although this gives my character a rather weird look, I'm still quite proud with what I have achieved here.
This project has been a test of my animating ability and also creating new skills in using blendshapes and timing mouth movements to audio. It's not something I think I pursue but I'm glad I've learnt it and now know that a lot of planning is required even for a 10 second animation.
Thursday, 11 April 2013
Thursday 11th April 2013

This session was for animating. It was suggested that it was best to start off with animating the head and body first and ignore the mouth completely. To make selection easier, I used the outliner to select the correct joints.

With the set up I created last time, it was handy to have my tools to hand and this made animating easier. I was unsure at first at how to animate and key my blendshapes but a little explanation revealed all and I made a good start. I had trouble hearing my audio even with the sound turned to full so some of my keys were guess-work.

To help with my guess-work, I made the soundtrack slider bigger so I could see the increase in volume on the track and make more accurate guesses. I will run through my animation properly before I hand it in.


The only thing left to do for this session was to organise my cameras. I had intended to use just the one camera and cut to a close up of the mouth. However, all this achieved was a slow zoom in to the close up area which was not what I wanted. I decided therefore that the only way to achieve my close would be to have an extra camera focussed on the close up and then edit the final thing together in Adobe AfterEffects.
Tuesday, 2 April 2013
Thursday 21st March 2013
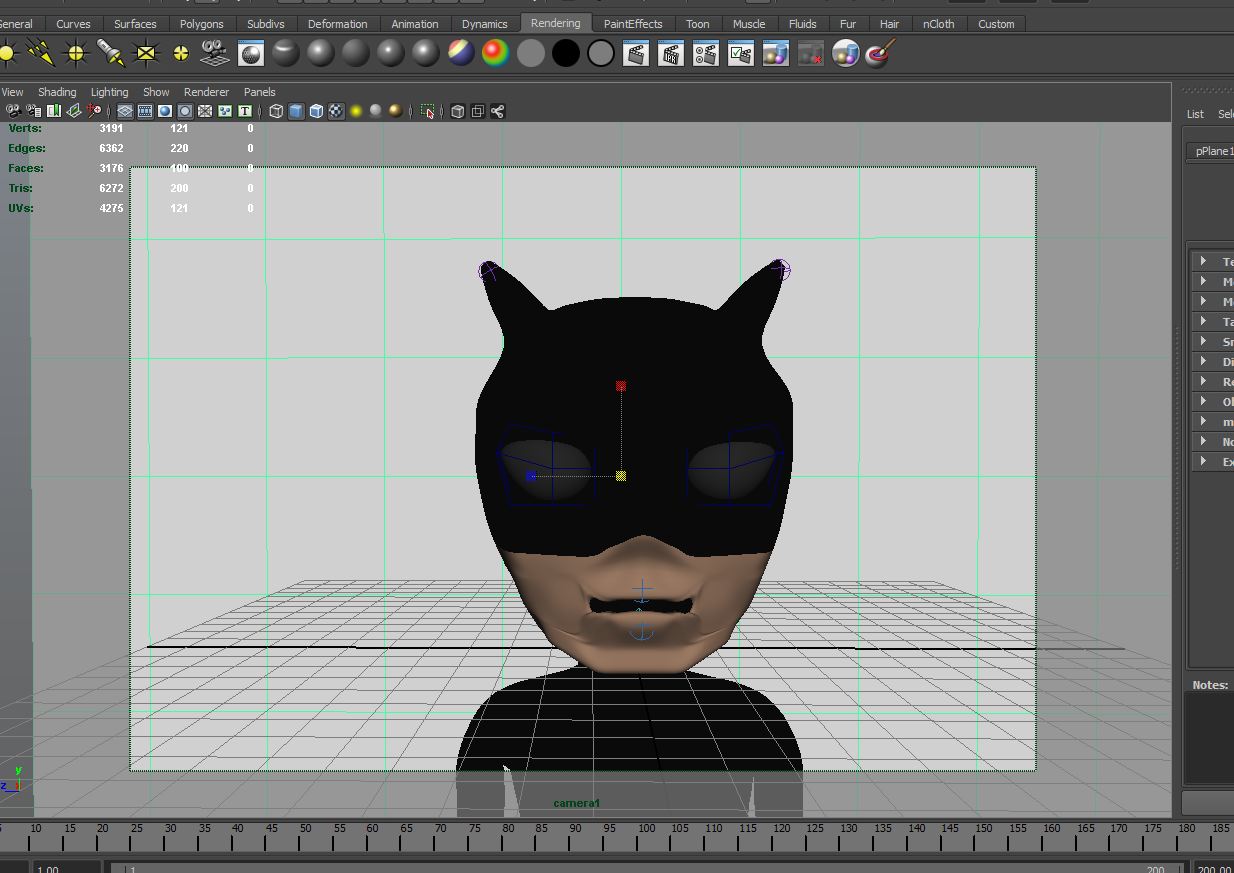


This session was about preparing my model and Maya page ready for animation. This started with deleting the side panels and making the background larger to eliminate negative space. I was still concerned at how jagged my model looked in render, and it turns out my model was only in smooth view and this did not affect the render. To conquer this, I was told to select the whole model and use the smooth tool in the menu. Although this will ultimately add to my render time, my model finally looks smooth as I intended.


Next was to sort out the sound for my quote. I originally intended to record myself saying the quote but I forgot so I sourced the quote from the internet. Once I found it I had to convert it to a .wav file.
Once this was done, I then imported the sound file to Maya and it appeared on the timescale. This will make it easier to animate my mouth to the sound.
I set up my Maya page so that I could see the soundtrack, my model and also my Blendshapes so everything I need to animate with ease without having to flick around Maya trying to find loose windows. When I get back from Easter break I will be ready to animate and render.
Thursday, 14 March 2013
Thursday 14th March 2013


This week was about setting up for animating. I set up a camera directly infront of my character, using the film gate to get the best position. I also added in 3 panels to which I then assigned a Lambert and changed the colour to white. This is to symbolise a screen test, like actors do for an audition. However, now that I have created the 3 panels and the way that I've arranged them, I don't think I need all 3; perhaps just enlarge the back one so no back scene is seen, and so the background is level and it is a continuous white.
The addition of the light was a good choice. I went with a Spotlight so it was shining directly, and highlighting, my character's face. At first the position I had it in was not suitable; it showed up how rough the surface is of my model's face, particularly around the mouth. I then decided the light was too intense and this called for some adjustment.
I turned up the drop-off tab but this was too much at first so more readjustment happened. I got it just right and then adjusted the intensity. These two elements help slightly reduce the roughness of the surface.
I then decided to change the position of the arms, but whenever I adjusted the blendshapes, the arms went back to the original pose. The teaching assistant helped me overcome this by changing the position of the Skin Cluster and Blendshapes tabs in the inputs menu for the body.
I will revisit the backwall situation next time and re-check the light, still not sure about it. Also will start animating hopefully.
Subscribe to:
Comments (Atom)